Converting an old iMac into a standalone monitor
- apple
- repair
- monitor
This is a fantastic way to upcycle an old iMac that would otherwise be e-waste. I was able to get a 24" 1920x1200 sleek-looking monitor out of this for about $50 in parts.
This blog post feels a bit long but it's just a lot of images and reference material. To skip around, here are some links to the sections:
- Teardown
- Pinouts and references
- Project schematics
- LCD controller boards
- Building it back up
- Final result
Most of the images are bigger than they appear in this blog post. Right click and open in a new tab to see the full size.
Figuring out which iMac you have
I'm working with an Apple iMac from 2008, the year before Apple started adding target display mode to iMac's which allows standalone monitor functionality out of the box. In order to figure out which iMac model I have, I used one of the many serial number lookup sites. Here are a couple:
Serial number lookups:
- iMac | 2.8 GHz Core 2 Duo | 24 Inch | Early 2008: https://techable.com/apple/specs/-8-ghz-core-2-duo-24-inch-early-2008/
- https://everymac.com/systems/apple/imac/specs/imac-core-2-duo-2.8-24-inch-aluminum-early-2008-penryn-specs.html
iMac details:
- Serial No: QP8390/Z0KM
- Apple Model No: A1225 (EMC 2211)
- Model ID: iMac8,1
- Apple Order No: MB325LL/A
LCD details:
- Resolution: 1920x1200
- LCD: LM240WU2 SL B3
You can also confirm the details by looking at the sticker on the back of the LCD panel if you want to pre-disassemble the iMac.


Teardown
For a general teardown guide, see this video by Hugh Jeffreys. We basically need to gut everything except the LCD panel and power supply.
Here are some pics of when I did it so I could keep track of screws:
| . | . |
|---|---|
 |  |
Connectors on the LCD:
| 14-pin backlight connector | 30-pin LVDS connector for the video signal |
|---|---|
 |  |
Connectors from the built-in iMac power supply (ADP-250AF B):
| 14-pin backlight | 12-pin mobo (MB) |
|---|---|
 |  |
Pinouts and references
Here are a bunch of references I found while researching this project:
- https://www.ifixit.com/Answers/View/589418/Power+Supply+pin+(voltage,+start+other)
- https://www.ifixit.com/Answers/View/213674/iMac+dead.+used+as+a+monitor+lcd+panel
Power supply connector pinouts for the original iMac power supply (Delta ADP-250AF B) (source via MrSoul):
Note: MrSoul indicates that the BL_ON/P_DIM pinout "are reversed on my diagram."


"This is the pinout of the Molex 5569 plug from the genuine Apple ADP-250AFB power supply" (source via DocMaker). This matches the CN102/PS pinouts from above as far as I can tell but the orientation is different:

Thanks for your help, everyone. My dead old 2008 iMac A1225 EMC2211 will have a new life as a simple display.
This is the pinout of the Molex 5569 plug from the genuine Apple ADP-250AFB power supply. Use of the three 12V pin to power the
M.NT68676.2A[LCD controller] board. ConnectGNDtoGND, Use the 5.5x2.1 connector instead of 12V andGNDof theCN5plug of theM.NT68676.2A.Connect
BL_ONandP_DIM/ADJrespectively to pin3and4of theCN5.-- DocMaker, https://www.ifixit.com/Answers/View/589418/Power+Supply+pin+(voltage,+start+other)#answer701848
Project schematics
A few people have graciously documented their schematics (wiring diagrams). These are very helpful references to understand how to wire everything up. It's best to just reference all three and pull out what you need.
| MrSoul project schematic (source) | Bruce Mac (source via iFixit answer) | Comitéquartier Ouest (source) |
|---|---|---|
 |  |  |
Setting up a power button
I use a bistable relay to be able to reuse the original iMac push button.
If you replace it with a classic switch (on/off), you don't need the relay, just that it makes contact between GND and PS_ON.
+12V SB is the only track that always outputs 12v, even if the power supply is not activated (but I assume it is not able to offer much amperage), I use it to power the bistable relay.
-- MrSoul, https://www.ifixit.com/Answers/View/589418/Power+Supply+pin+(voltage,+start+other)#comment802578
Bistable relay example https://aliexpress.com/item/4000820341572.html (source)
Or could probably use a latch circuit.
LCD controller boards
There are a few different 3rd-party LCD controller boards to choose from. This is what drives the LCD panel independent of the iMac and is the main piece that allows this project to be possible.
M.NT68676.2A LCD controller board
A lot of people seem to use this one but I ordered the other one below.
Example for sale: https://www.ebay.com/itm/364454394706

CN5 (6pin: Inverter connector) pinout:

Other board with HDMI and DisplayPort
I opted for this controller anticipating that I would want to connect to things that used HDMI and DisplayPort in the future.
Example for sale: https://www.ebay.com/itm/234611483402


Panel mount connectors
You can get panel mount connectors to extend the outputs from the driver board to a nice panel mount to the iMac case. Here are a couple options depending on how you want to lay things out. I ended up using this first option and having the HDMI port come out the back of the iMac in the deepest spot in the middle through the old air vent (pictured below).
https://www.aliexpress.com/item/3256804506817061.html


- HDMI: https://www.aliexpress.com/item/3256803048450080.html
- DisplayPort: https://www.aliexpress.com/item/2255800165025739.html


Building it back up
Luckily, building on the prior art of people doing this before, this project wasn't too hard to figure out. There is a lot of space to mount things inside the iMac case and I was able to re-use a few standoffs and screws from the original iMac.
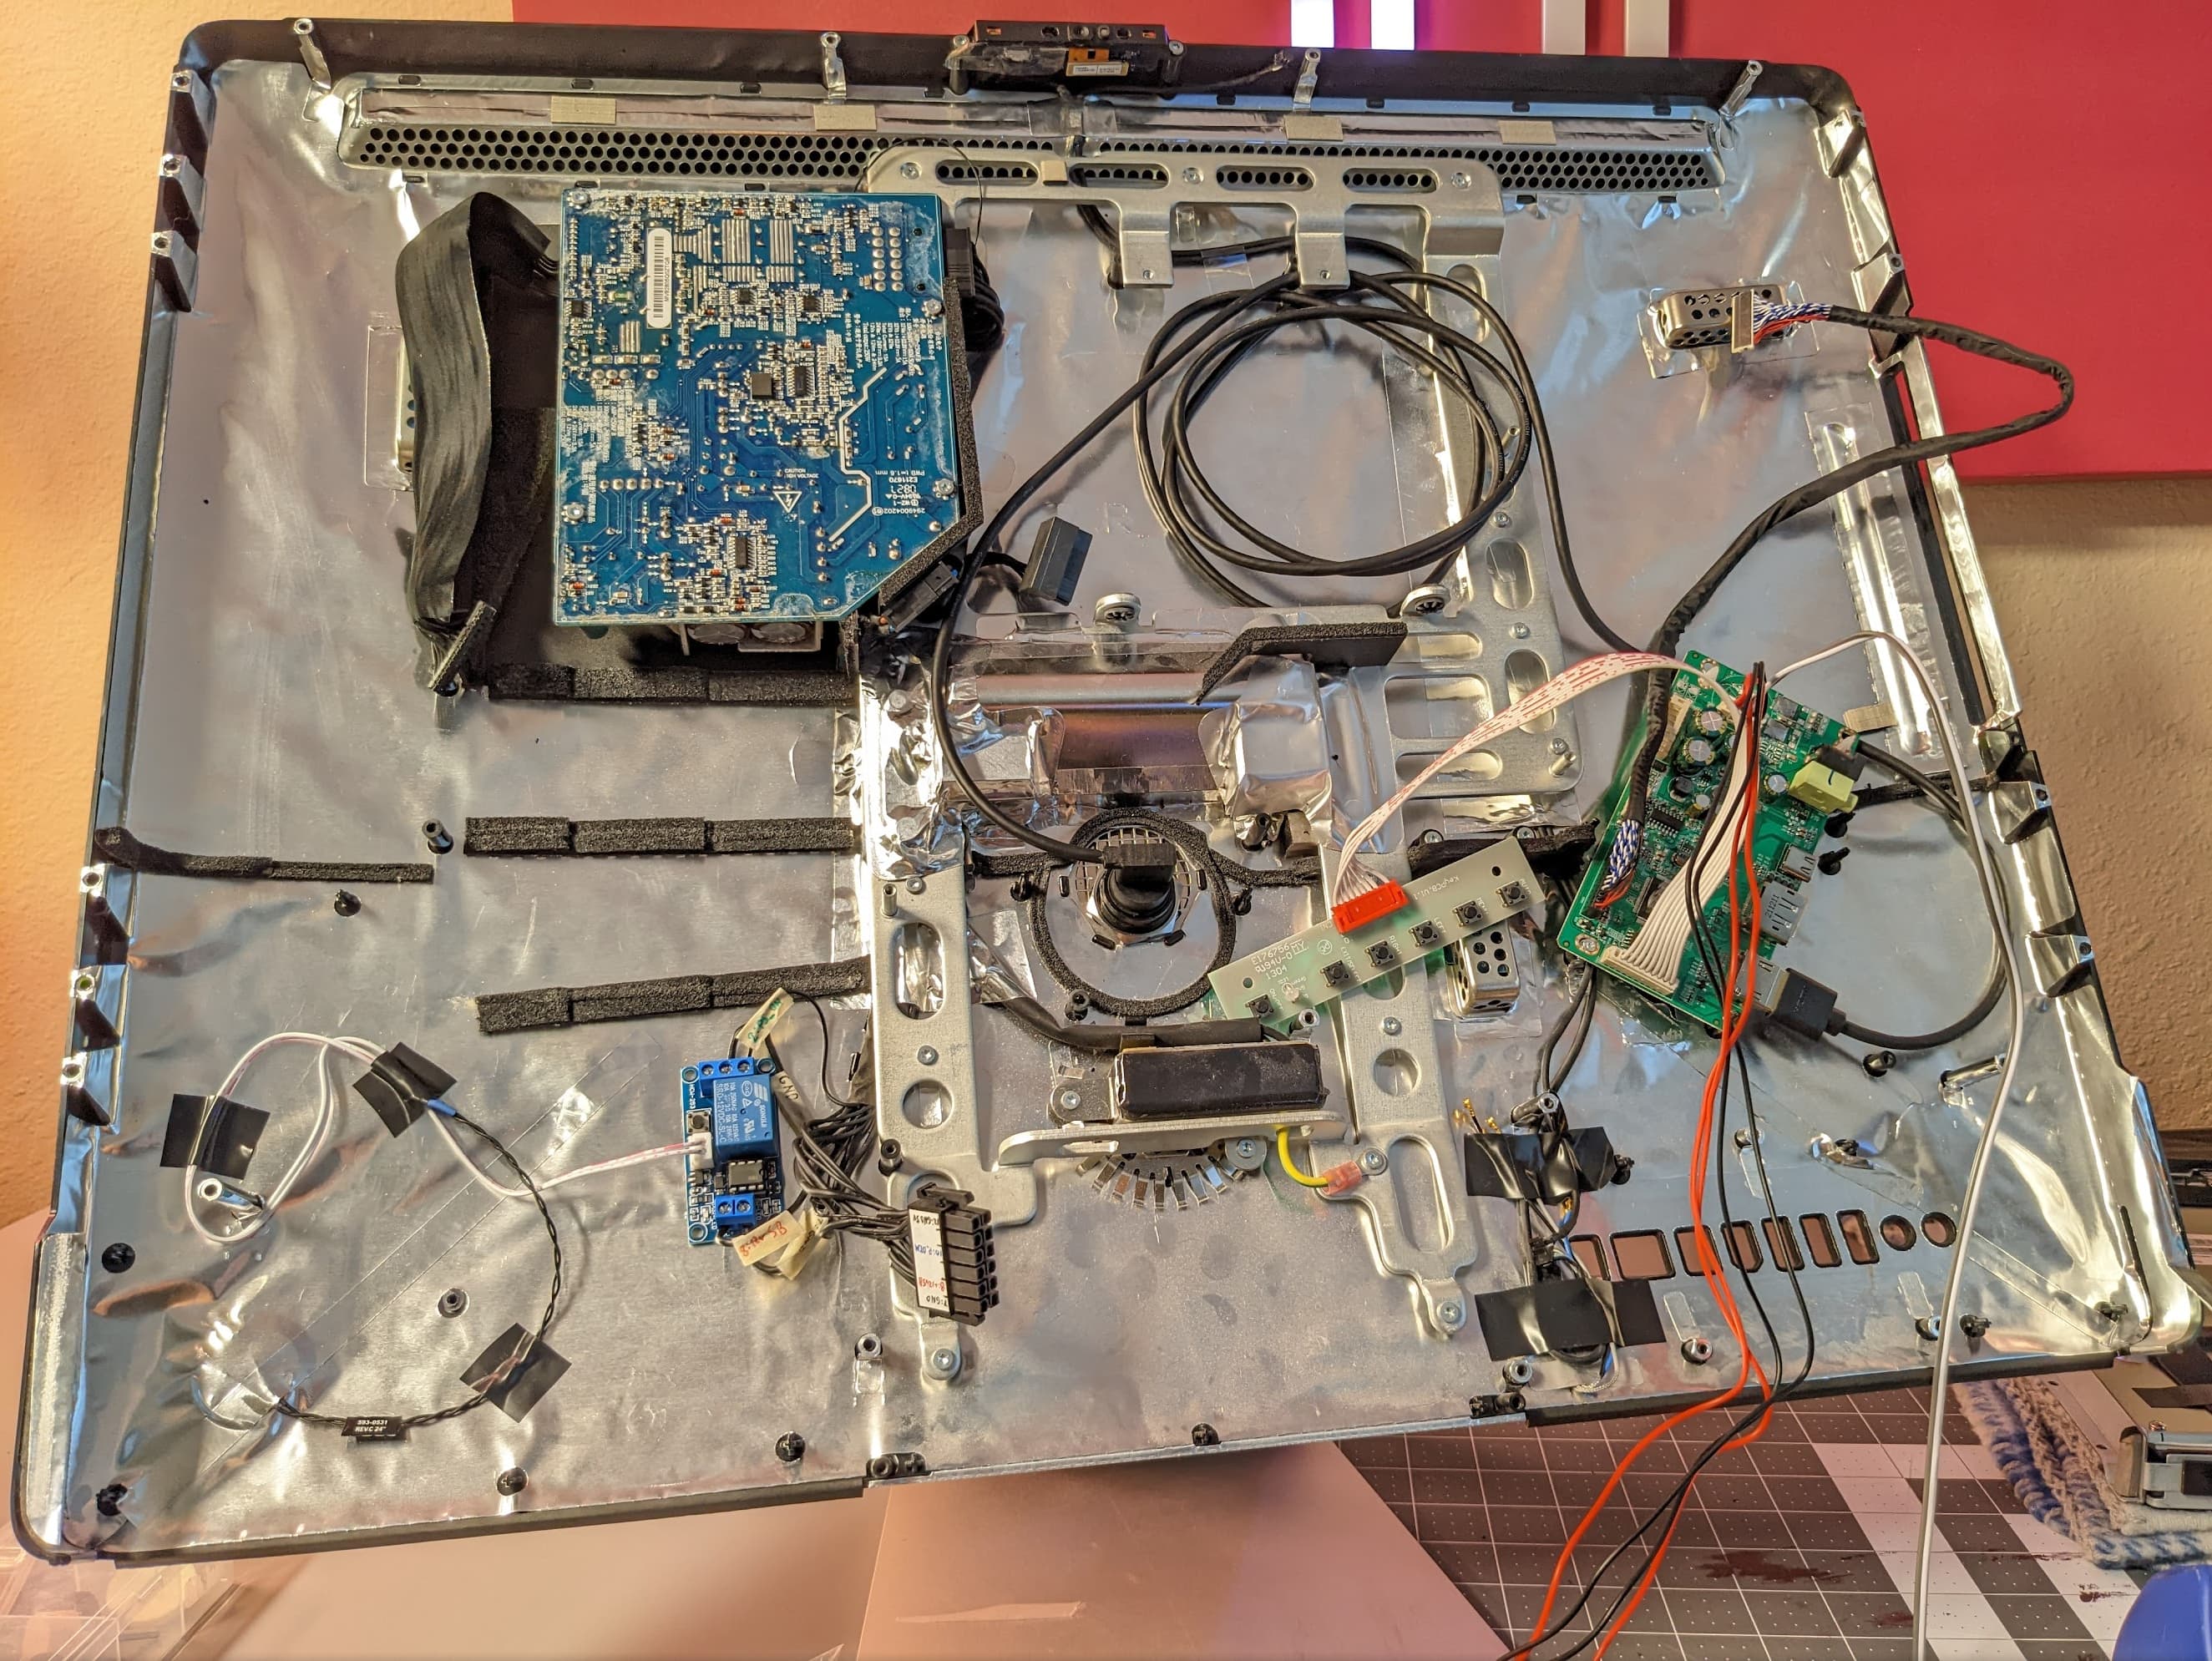


I used a bistable relay so the power supply turns on when the original iMac power button is pressed. Just spliced into the existing connectors after labeling them. Nice clean result.

I cut a hole for the panel mount HDMI connector in the grill where the fan used to go. Not very pretty but the panel mount connector covers it all up.
Also had to shave down the right-angle HDMI cable sheath so there would be enough clearance behind the panel when it's stacked up with the panel mount HDMI connecter.

The little extra PCB that has the LCD controller push buttons and status LED is just tied to the memory access door on the bottom edge of the iMac for somewhat convenient access after everything is put back together. I thought about doing something more elegant on the back of the monitor with some panel mount buttons but that blows up the cost of the project. I haven't had to change any settings since setting it up anyway.
Final result
Using the references above, I was able to get everything up and running and it's now being used as a second monitor for a MacBook Pro 🎉
It doesn't have the best brightness but perhaps that's just how these old monitors perform anyway. I don't have a good frame of reference for how the original iMac worked before I inherited the e-waste.
