Paper backup and recovery guide for `pass` (Password Store) - SSH and GPG keys
- pass
- password-manager
- backup
- recovery
- ssh
- gpg
You will want to go through these instructions, copy-paste this blog post to your own Microsoft Word/Google Doc, replace the keys with your own, and print a copy for safe-keeping. This paper copy will be the only thing you need to recover in case of a total loss of all devices.
Printing tips
- Select all of the text on this blog post and copy-paste to a new Microsoft Word/Google Doc with the formatting
- Adjust the page margins to 0.5" on all sides
- In Google Docs, remove the tan background color by selecting everything then Format -> Paragraph styles -> Borders and shading -> Background color -> None
If you're curious to get a preview of how the setup will look and how pass works, this Dreams Of Code video is a great resource. This blog post also goes over the initial setup of pass so that the printed instructions include everything you need to fully bootstrap a new device in case of recovery and so you have a reference on how you initially set everything when you're trying to recall months/years later. The core new piece of information that this blog post goes over is how to backup your SSH and GPG keys to paper and recover from them in case of emergency.
It's also a good idea to practice your recovery steps by setting up a new device using the paper copy instead of just copying key files over. For example, I set everything up on my Linux PC and was able to fully recover on my Macbook using the paper copy.
For reference, I was able to fully migrate from the Chrome's built-in password manager to pass (imported everything using my pass-import-chrome project). I also use pass as a complete replacement for Authy/Google Authenticator to manage one-time passwords (OTP) with the pass-otp extension.
Table of Contents (quick-links):
pass (Password Store) - Emergency recovery instructions
Project: https://www.passwordstore.org/
If you're reading these instructions, it probably means:
- You're setting up a new device
- Everything burned down to the ground and we need to fully recover
Initial pass setup
Note: These initial setup steps are just provided for context in case you need to reference how things were first created. If you're looking for instructions on how to restore/recover to a new device, jump to the "Setting up a new computer (restore/recovery)" section below.
Generate GPG key used to encrypt/decrypt data
Setup a GPG key that will be used to encrypt data. You will be prompted for a name/email but this can be set to anything and is just used to help you recognize the key. You will also be prompted for a passphrase to protect the key. The passphrase should be something memorable because you will be using it over and over to decrypt your passwords.
$ gpg --gen-key
$ gpg --list-keys
# Update so that the key doesn't expire
# (key expiry can be updated whenever, even after expiration)
$ gpg --edit-key 0D73297D7CB939CC6DB6302038954DD2384B1769
gpg> expire
...
Key is valid for? (0) 0
gpg> save
Make sure AEAD encryption is disabled otherwise you will run into compatibility problems with other OpenPGP implementations like PGPainless that the Android Password Store app uses.
  $ gpg --expert --edit-key 0D73297D7CB939CC6DB6302038954DD2384B1769
  # Check if AEAD is advertised as being supported
  gpg> showpref
  [ultimate] (1). test-blog-post <[email protected]>
       Cipher: AES256, AES192, AES, 3DES
+      AEAD: OCB
       Digest: SHA512, SHA384, SHA256, SHA224, SHA1
       Compression: ZLIB, BZIP2, ZIP, Uncompressed
+      Features: MDC, AEAD, Keyserver no-modify

  # Disable AEAD
  gpg> setpref AES256 AES192 AES SHA512 SHA384 SHA256 SHA224 ZLIB BZIP2 ZIP
  Set preference list to:
       Cipher: AES256, AES192, AES, 3DES
-      AEAD:
       Digest: SHA512, SHA384, SHA256, SHA224, SHA1
       Compression: ZLIB, BZIP2, ZIP, Uncompressed
-      Features: MDC, Keyserver no-modify
  Really update the preferences? (y/N) y
Setup pass:
Install pass and pass-otp (see the dependencies section below).
Initialize the password store with the GPG key you just generated:
$ pass init 0D73297D7CB939CC6DB6302038954DD2384B1769
$ pass git init
Create a private repo on GitHub/GitLab that will be used as the remote backup for our password store. Since the password files are encrypted, the only exposure is revealing which sites you have accounts with, which is not ideal, but the convenience of a git-based remote backup outweighs this small metadata leak in my opinion. Remember, they won't know the email or username associated with the accounts as long as you avoid using them in the file names. I use a naming scheme like "github.com/personal" and "github.com/work" to keep it ambiguous.
$ pass git remote add origin [email protected]:MadLittleMods/password-store.git
$ pass git branch -M main
$ pass git push -u origin main
Add SSH key to clone password repo
Create an SSH key that we can use to clone the password repo without access to our GitHub account:
$ ssh-keygen -t ed25519 -C "MadLittleMods/password-store deploy key"
Enter file in which to save the key (/home/eric/.ssh/id_ed25519): /home/eric/.ssh/id_ed25519_password_store_deploy_key
Enter passphrase (empty for no passphrase):
Enter same passphrase again:
[...]
(suggested name: id_ed25519_password_store_deploy_key)
Note: No password necessary on the SSH key since the passwords we're cloning are already encrypted and it's just another friction step to figure out during recovery.
Add the public part of the SSH key to the deploy key section of the GitHub repo (deploy keys are just repo-scoped SSH keys). Go to your repo settings -> Deploy keys -> Add deploy key -> For the Key field, paste in cat ~/.ssh/id_ed25519_password_store_deploy_key.pub and add a Title like SSH key to clone repo for emergency recovery.
Backup necessary keys on paper:
Export keys for other devices:
- SSH key in order to clone repo (private)
- GPG key in order to decrypt passwords (public/private)
SSH key
Export the SSH private key as a QR Code (see the dependencies section below for how to install qrencode):
$ cat ~/.ssh/id_ed25519_password_store_deploy_key | qrencode --size=5 --8bit --output ssh-private-password-store.qr.png
Export the SSH key as text just in case the QR code is unreadable:
$ cat ~/.ssh/id_ed25519_password_store_deploy_key
-----BEGIN OPENSSH PRIVATE KEY-----
b3BlbnNzaC1rZXktdjEAAAAABG5vbmUAAAAEbm9uZQAAAAAAAAABAAAAMwAAAAtzc2gtZW
QyNTUxOQAAACApYJV4X58eT9gh1M3YdqWI2oCfV8sOjX4KwR32O3RpDAAAAJjTje11043t
dQAAAAtzc2gtZWQyNTUxOQAAACApYJV4X58eT9gh1M3YdqWI2oCfV8sOjX4KwR32O3RpDA
AAAEBsA8SGtj3IH/2RgDo/6ERGhDV6tny/rsomknNPpKP+NylglXhfnx5P2CHUzdh2pYja
gJ9Xyw6NfgrBHfY7dGkMAAAADnRlc3QtYmxvZy1wb3N0AQIDBAUGBw==
-----END OPENSSH PRIVATE KEY-----
GPG Key
GPG Public Key
Export the GPG public key as a QR Code:
$ gpg --export 0D73297D7CB939CC6DB6302038954DD2384B1769 | qrencode --size=5 --8bit --output gpg-0D73297D7CB939CC6DB6302038954DD2384B1769-public.qr.png
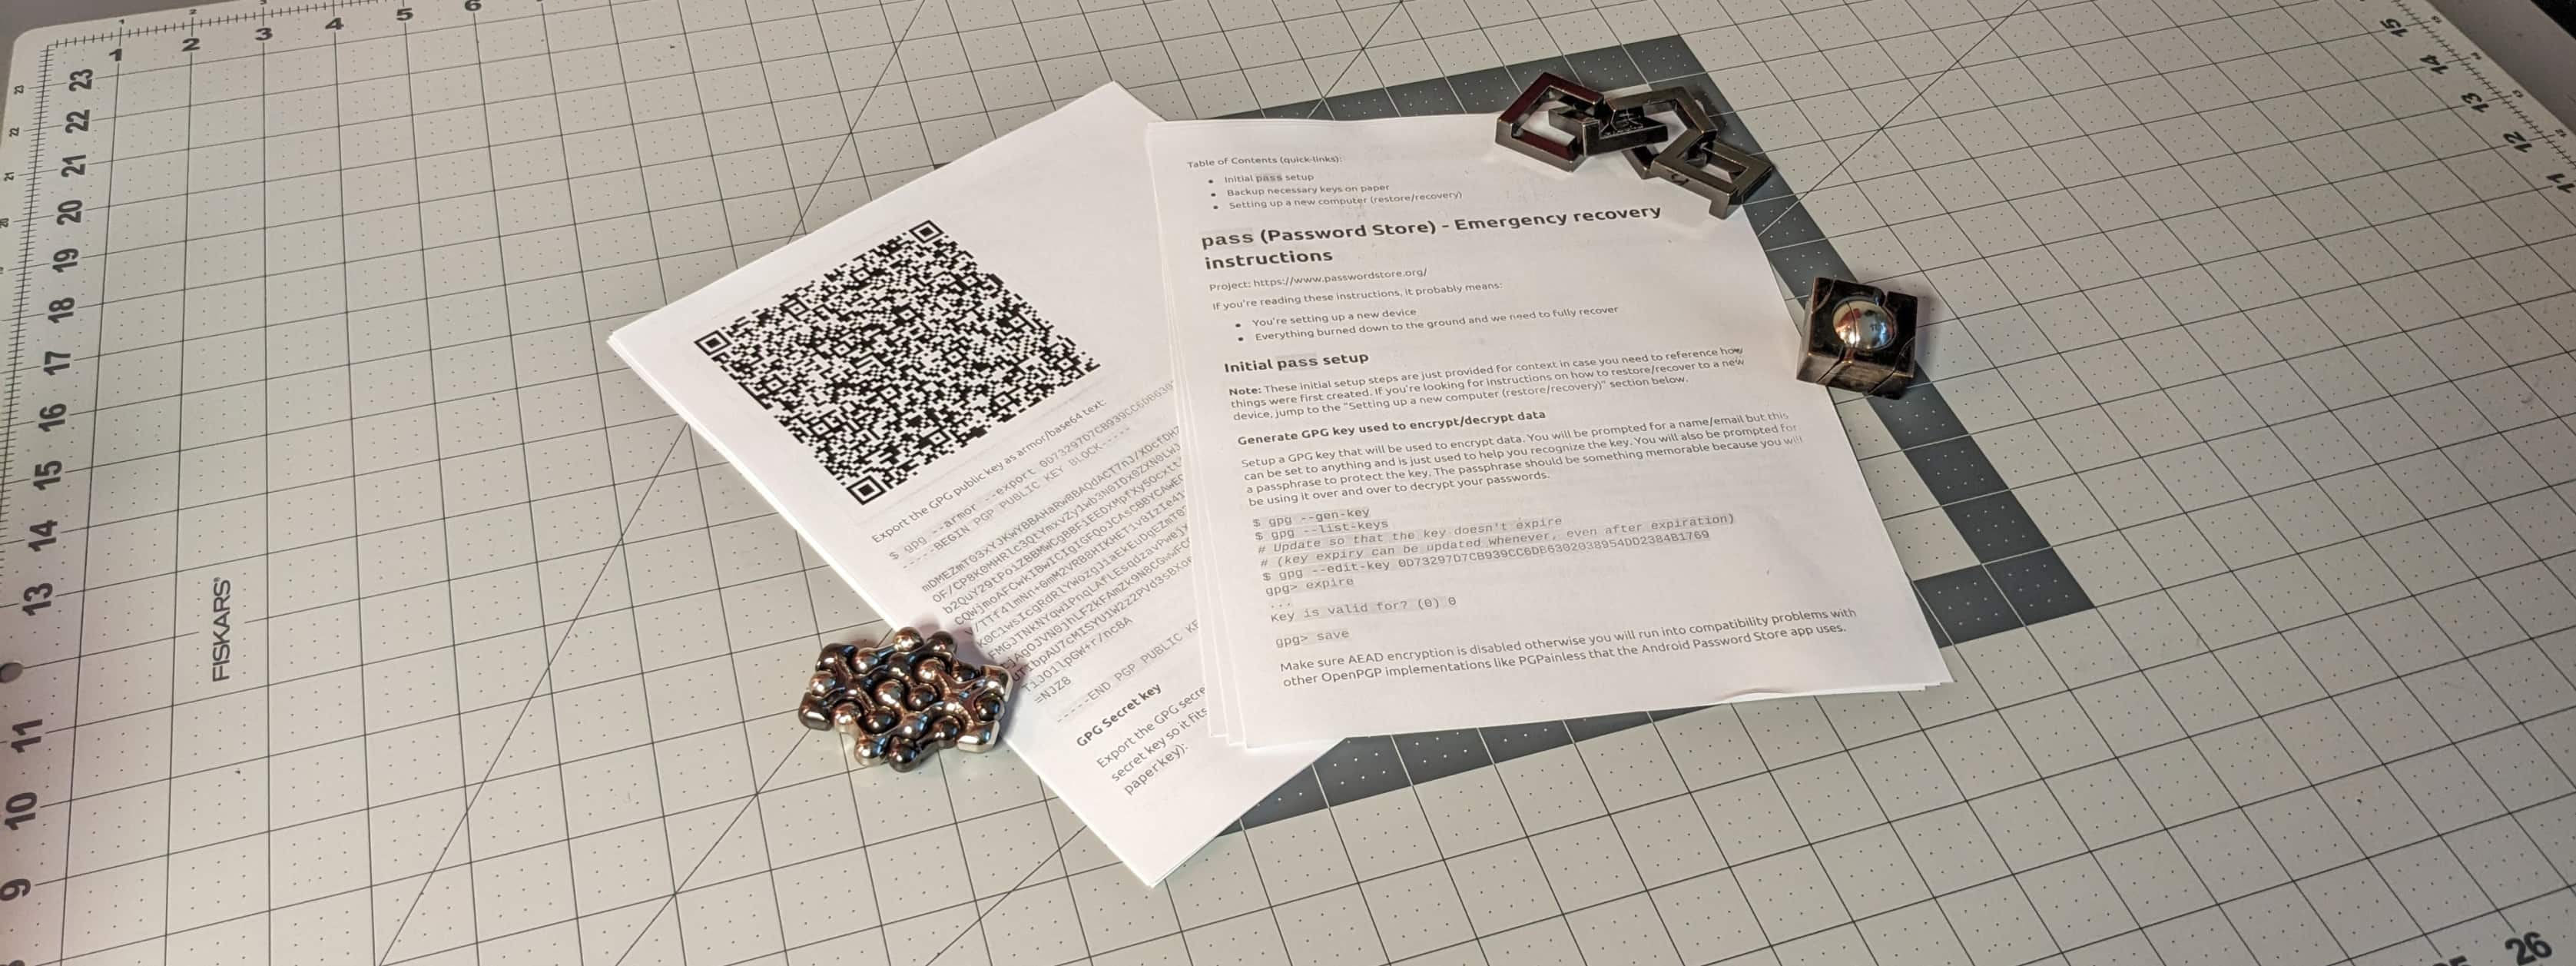
Export the GPG public key as armor/base64 text:
$ gpg --armor --export 0D73297D7CB939CC6DB6302038954DD2384B1769
-----BEGIN PGP PUBLIC KEY BLOCK-----

mDMEZmT03xYJKwYBBAHaRw8BAQdACT7nJ/XDcfDHZCDnXDovA78D5W4YvcEYZsyU
OF/CP8K0MHRlc3QtYmxvZy1wb3N0IDx0ZXN0LWJsb2ctcG9zdEBlcmljZWFzdHdv
b2QuY29tPoiZBBMWCgBBFiEEDXMpfXy5OcxttjAgOJVN0jhLF2kFAmZk9N8CGwMF
CQWjmoAFCwkIBwICIgIGFQoJCAsCBBYCAwECHgcCF4AACgkQOJVN0jhLF2l3CgD/
V/TTf4lmNn+0mM2VRB8HIKHET1v8IzIe41xwbIT06L4BALW3uf57Cw+4+npuKEhm
K0C1wsIcgRdRlYWozgJiaEkEuDgEZmT03xIKKwYBBAGXVQEFAQEHQBqKYxXO8mow
FMGJTNkNYqwiPnqLAfLEsqdzavPwejxnAwEIB4h+BBgWCgAmFiEEDXMpfXy5Ocxt
tjAgOJVN0jhLF2kFAmZk9N8CGwwFCQWjmoAACgkQOJVN0jhLF2nAkwEA7jpzd+9I
UTIbpAU7cMISYU1W2z2PVd3sBXoev1kVh9sA/A0tyDWkuFXoMX3z2vq6inS0Y+MO
TiJO1lpGW+r/nc8A
=NJZ8
-----END PGP PUBLIC KEY BLOCK-----
GPG Secret key
Export the GPG secret key as a QR Code. We're using paperkey to reduce the size of the GPG secret key so it fits better in a QR code (see the dependencies section below for how to install paperkey):
$ gpg --export-secret-key 0D73297D7CB939CC6DB6302038954DD2384B1769 | paperkey --output-type raw | qrencode --size=5 --8bit --output gpg-0D73297D7CB939CC6DB6302038954DD2384B1769-secret.qr.png
Export the GPG secret key as armor/base64 text:
$ gpg --armor --export-secret-key 0D73297D7CB939CC6DB6302038954DD2384B1769
-----BEGIN PGP PRIVATE KEY BLOCK-----

lIYEZmT03xYJKwYBBAHaRw8BAQdACT7nJ/XDcfDHZCDnXDovA78D5W4YvcEYZsyU
OF/CP8L+BwMCWVcI1KGofnH//3oBk13955sm07mVlpRTRT+Qwo+NlYPCtyHc8uH1
fxZumrId9u3G8TewMk69J/XCvc5GxuETkVcST0iPDJUp2gNPBlyll7QwdGVzdC1i
bG9nLXBvc3QgPHRlc3QtYmxvZy1wb3N0QGVyaWNlYXN0d29vZC5jb20+iJkEExYK
AEEWIQQNcyl9fLk5zG22MCA4lU3SOEsXaQUCZmT03wIbAwUJBaOagAULCQgHAgIi
AgYVCgkICwIEFgIDAQIeBwIXgAAKCRA4lU3SOEsXaXcKAP9X9NN/iWY2f7SYzZVE
HwcgocRPW/wjMh7jXHBshPTovgEAtbe5/nsLD7j6em4oSGYrQLXCwhyBF1GVhajO
AmJoSQSciwRmZPTfEgorBgEEAZdVAQUBAQdAGopjFc7yajAUwYlM2Q1irCI+eosB
8sSyp3Nq8/B6PGcDAQgH/gcDArMYKe1PPgzu/6x3lyVb7FUA7DwO5ErG4SrZ8PeR
601kLAcWLtwkwQZ0/dPBnMlxZDstOxZchstmYKXlV3AYjV9TuMt57h1thGeviYq1
XoGIfgQYFgoAJhYhBA1zKX18uTnMbbYwIDiVTdI4SxdpBQJmZPTfAhsMBQkFo5qA
AAoJEDiVTdI4SxdpwJMBAO46c3fvSFEyG6QFO3DCEmFNVts9j1Xd7AV6Hr9ZFYfb
APwNLcg1pLhV6DF989r6uop0tGPjDk4iTtZaRlvq/53PAA==
=9Djr
-----END PGP PRIVATE KEY BLOCK-----
Depending on how good you think your memory is, you may want to write your GPG passphrase to unlock secret key somewhere in this document after it's printed (not good to write the passphrase in the document itself stored on your computer/cloud which isn't protected). I'll leave a place for your here in case you want to do that:
GPG passphrase: _______________________________________________
Setting up a new computer (restore/recovery)
Dependencies on Linux (Manjaro)
pamac install paperkey
pamac install qrencode
pamac install zbar

pamac install pass
pamac install pass-otp
Dependencies on macOS
brew install paperkey
brew install qrencode
brew install zbar

brew install pass
brew install pass-otp
Note: If another device still exists, we can simply copy the SSH/GPG keys from that device. But it's also good practice to attempt recovery from paper to make sure our recovery steps are possible.
Restore the SSH key from QR code
Restore the SSH key:
$ zbarcam -1 --raw -Sbinary > ~/tmp_ssh_private_keyOr if you already have an image:
$ zbarimg -1 --raw -q -Sbinary secret-key.qr.png > ~/tmp_ssh_private_keyTip: I was having trouble with zbar recognizing the QR code when it was taking too much of the camera view. At first, I thought it was the fold/crease/wrinkle in the paper but it scanned just fine after backing it up a bit.
Move the SSH key to your ~/.ssh directory:
$ mv ~/tmp_ssh_private_key ~/.ssh/id_ed25519_password_store_deploy_key
$ chmod 600 ~/.ssh/id_ed25519_password_store_deploy_key
Add the SSH key to the agent:
$ ssh-add ~/.ssh/id_ed25519_password_store_deploy_keyRestore the GPG secret key from QR code
Restore the public key first:
$ zbarcam -1 --raw -Sbinary > ~/tmp-public-key.gpgOr if you already have an image:
$ zbarimg -1 --raw -q -Sbinary secret-key.qr.png > ~/tmp-public-key.gpgWarning: You need to have the public key available when restoring the secret GPG
paperkeybackup!
Restore the GPG secret key from a camera:
$ zbarcam -1 --raw -Sbinary | paperkey --pubring ~/tmp-public-key.gpg | gpg --importOr if you already have an image:
$ zbarimg -1 --raw -q -Sbinary secret-key.qr.png | paperkey --pubring ~/tmp-public-key.gpg | gpg --importNote: You will be prompted for the GPG secret key password (below) in order to import
Change the keys trust to ultimate :
$ gpg --list-keys
$ gpg --edit-key 0D73297D7CB939CC6DB6302038954DD2384B1769
gpg> trust
...
  5 = I trust ultimately
gpg> save
Clone the password repo
Note: You will need the SSH key from above in order to clone the repo
$ git clone [email protected]:MadLittleMods/password-store.git ~/.password-storeUse pass like normal 🎉
Note: You will need the GPG secret key from above in order to decrypt passwords
Possible problems
Fix GPG permission errors
gpg: WARNING: unsafe permissions on homedir '/Users/eric/.gnupg'gpg: public key decryption failed: Permission denied
gpg: decryption failed: Permission deniedSolution via Super User answer by Alex Stragies (https://superuser.com/questions/954509/what-are-the-correct-permissions-for-the-gnupg-enclosing-folder-gpg-warning/954536#954536):
- Make sure, the folder+contents belong to you:
chown -R $(whoami) ~/.gnupg/- Correct access rights for
.gnupgand subfolders:
find ~/.gnupg -type f -exec chmod 600 {} \;
find ~/.gnupg -type d -exec chmod 700 {} \;
"Wrong password" when trying to decrypt password in Android Password Store app
gpg uses a certain flavor of AEAD encryption to generate keys that aren't compatible with other OpenPGP implementations.
Solution: Disable AEAD preference on your key (already mentioned in the initial GPG setup steps above)
Dev notes: